Step-by-Step Guide to Planning a Security Camera Installation
Effective security camera installation requires careful planning before a single cable is run or camera is mounted. A structured planning process ensures the final system provides complete coverage, operates reliably, and meets the client's security objectives.
Step 1: Define the Security Objectives
Begin by clearly understanding what the system needs to achieve. Is the primary goal deterrence of crime, evidence collection for investigations, employee monitoring, or access control integration? The answer influences camera selection, placement, and recording configuration.
Discuss with the client the specific incidents or concerns that prompted the decision to install cameras. These conversations often reveal priorities that should be reflected in the system design.
Step 2: Map the Property
Create a property map showing all buildings, boundary lines, entry and exit points, parking areas, and areas of specific concern. This map becomes the foundation for camera placement planning. Mark proposed camera positions on the map, noting the field of view each camera will cover.
Step 3: Select Camera Types and Specifications
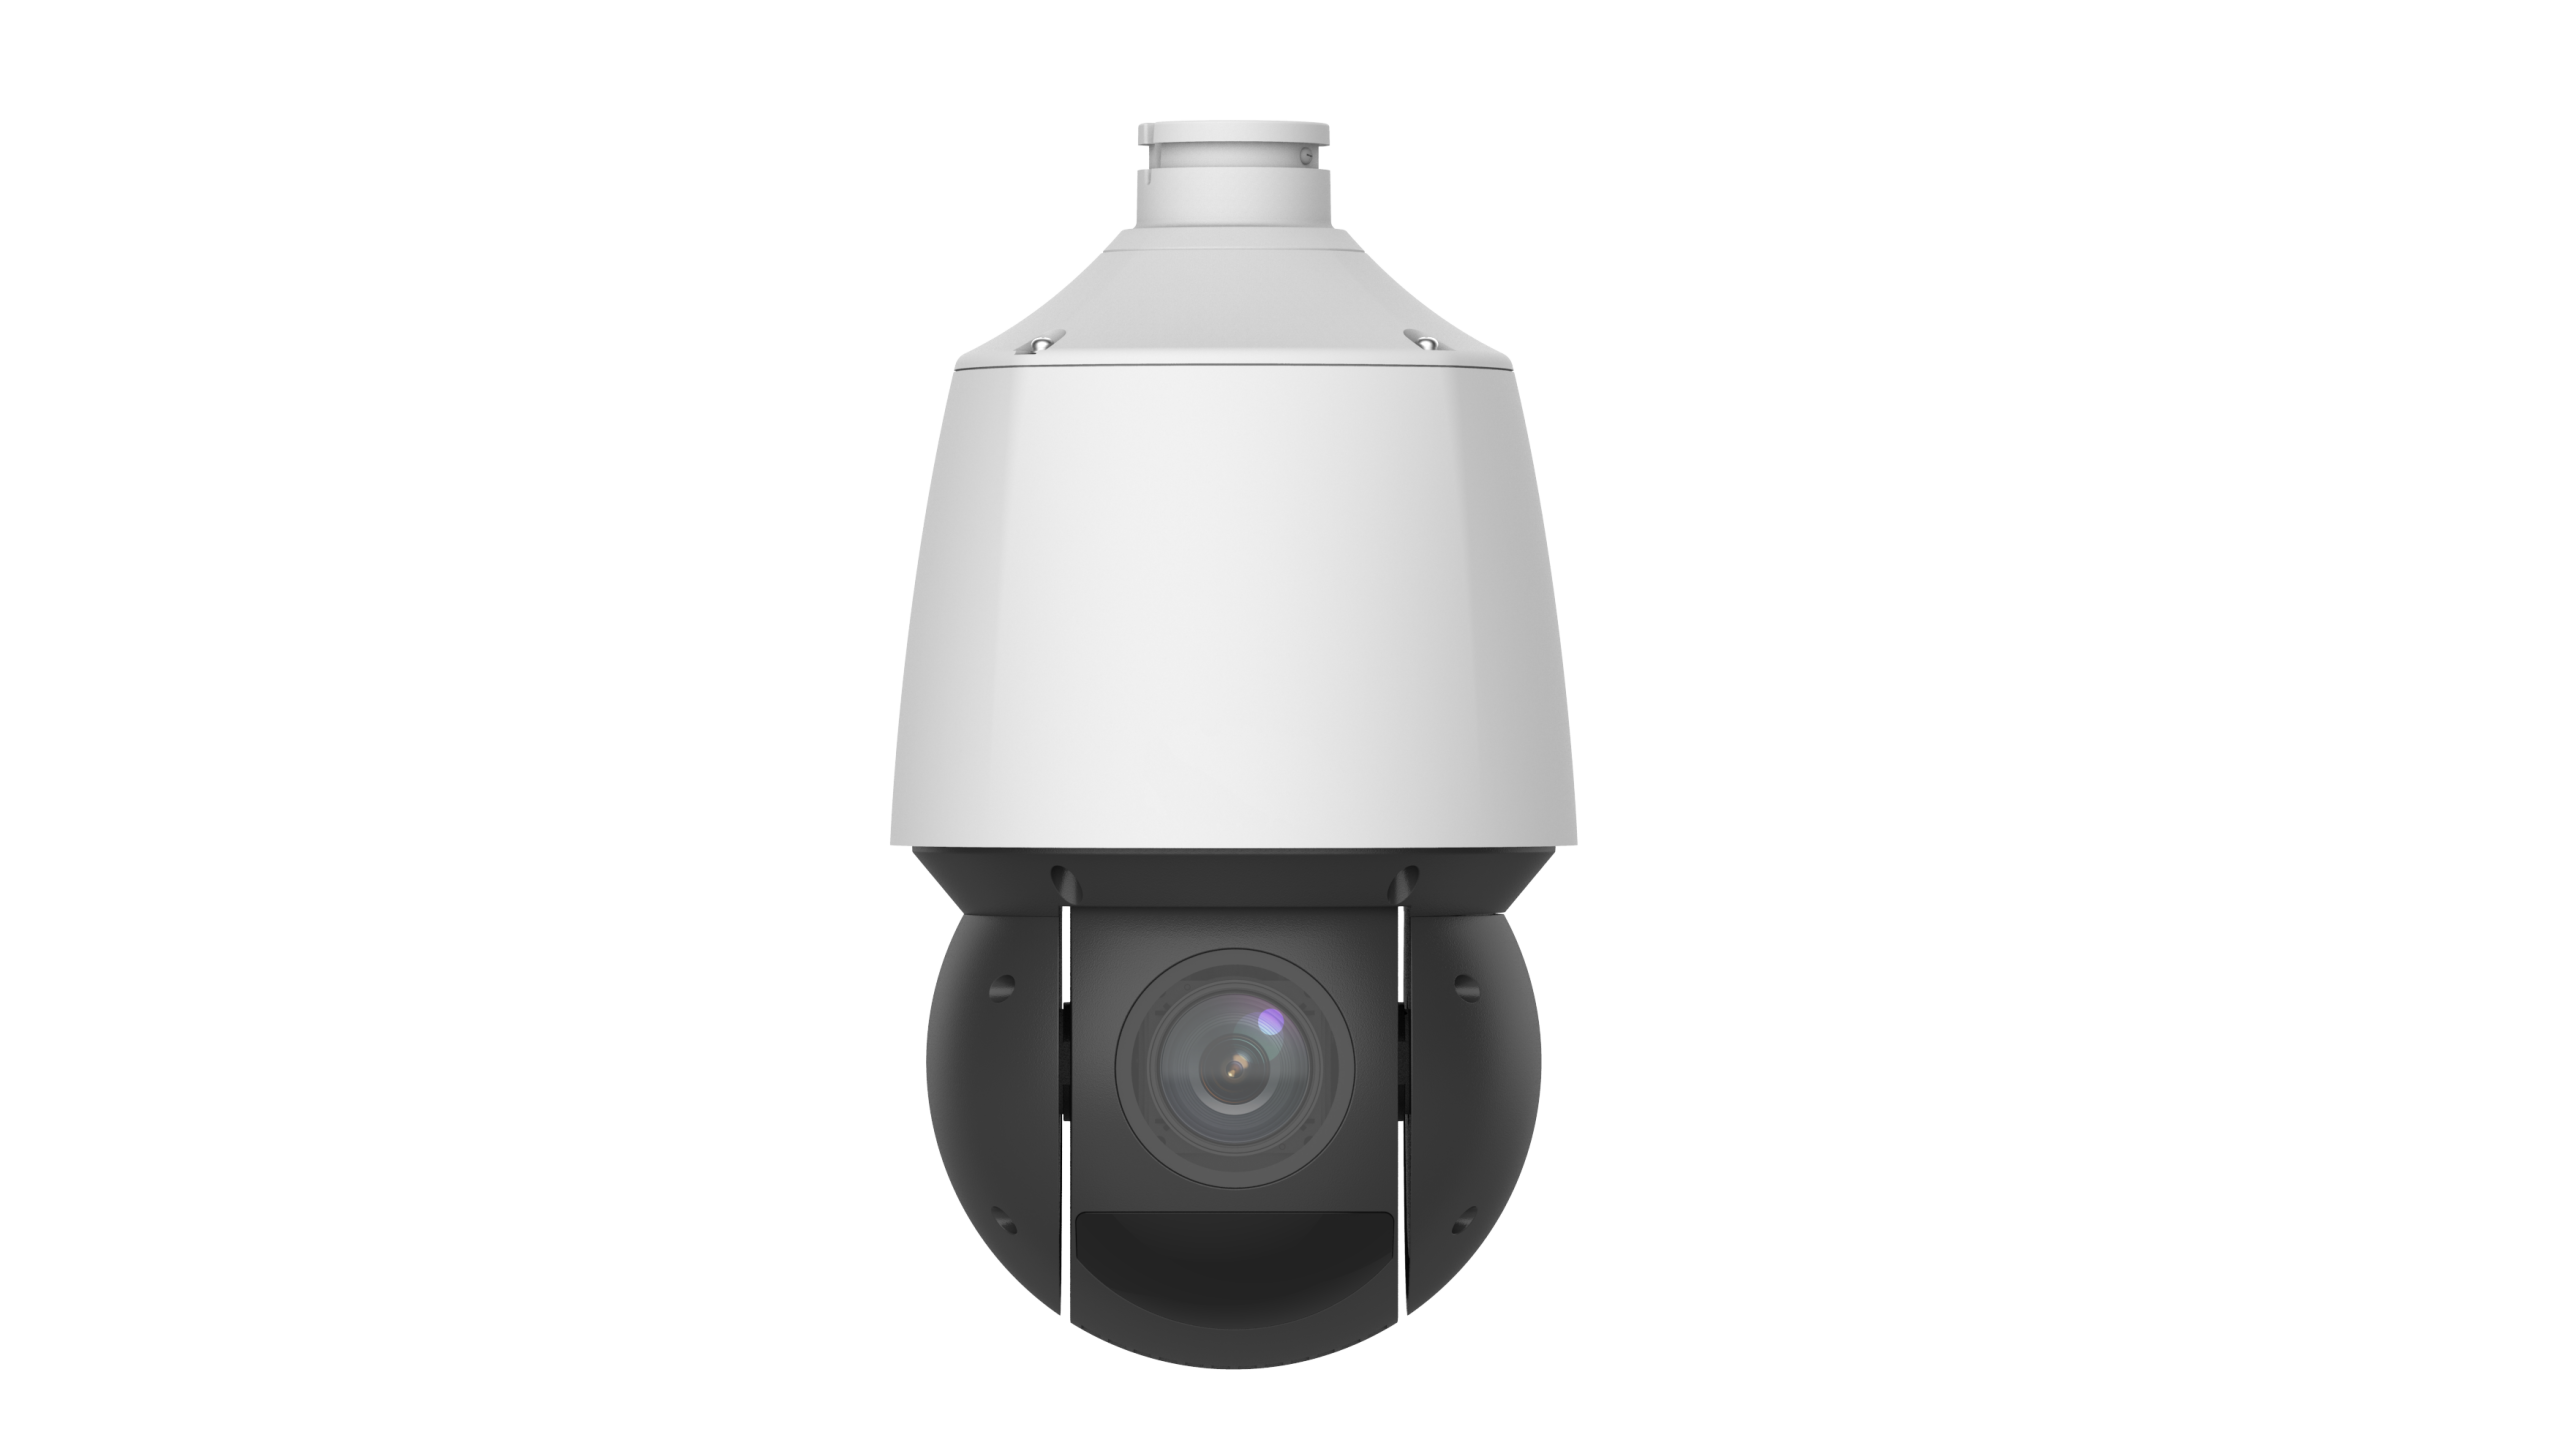
Based on the property map and security objectives, specify appropriate camera types for each location. Entry points benefit from high-resolution cameras capable of facial identification. Large outdoor areas may require PTZ cameras for flexible coverage. Dark areas need full-color or high-sensitivity IR cameras. License plate capture points require dedicated LPR cameras.
Worldstar's comprehensive IP camera lineup provides options for every scenario, ensuring the right camera is available for each specific location requirement.
Step 4: Plan Cable Routes
For wired installations, planning cable routes before beginning work saves significant time and avoids difficult mid-installation route changes. Identify where cables will enter the building from exterior camera positions, how they will be routed to the NVR or switch location, and where they will be concealed inside walls, conduit, or raceways.
Calculate cable lengths for each run, adding appropriate slack for routing around obstacles and terminating at connectors. Order cable in advance to avoid project delays.
Step 5: Plan Power and Network Infrastructure
Determine where PoE switches will be located and how they will be powered. Ensure the network switch has sufficient ports for all cameras plus the NVR. Plan for a UPS (Uninterruptible Power Supply) to protect the NVR and switches from power outages.
Step 6: Configure the Recorder
Before the cameras are mounted, pre-configure the NVR or DVR with appropriate recording settings, storage allocation, and remote access credentials. This allows the installer to verify the recorder is functioning correctly before completing the camera installation.
Step 7: Install, Test, and Commission
Mount cameras according to the placement plan, connect cables, and verify each camera image. Adjust camera angles as needed based on the live image review. Test remote access via the Guard Live app and confirm motion detection is functioning. Complete the client handover with a system walkthrough.
Conclusion
A structured planning process is the foundation of every successful security camera installation. By following a systematic approach from objective setting through commissioning, installers deliver systems that meet client expectations and perform reliably over the long term. Worldstar Security Cameras provides the product range and technical support needed to execute this process efficiently across projects of all sizes.
Categories
Read More
(圖/ 臺南市政府社會局) 臺南市政府社會局攜手屏科大簽署策略聯盟備忘錄,深化南部社工專業培力與跨域合作,盼透過整合學術研究與實務經驗,提升第一線社工人員專業能力,進一步強化社會福利服務品質與區域支持系統。 簽署儀式於國立屏東科技大學舉行,由臺南市政府社會局副局長葉誌明代表簽署。此次合作聚焦於社會工作教育訓練課程研發、專業知能提升及跨域實務交流,希望透過產官學合作模式,建立更完善的人才培育機制,協助社工人員面對日益複雜的社會服務需求。 (圖/ 臺南市政府社會局) 臺南市長黃偉哲表示,隨著高齡化、家庭結構變遷及多元社會議題增加,第一線社工肩負的責任與挑戰持續提升。社工專業能力的養成與持續進修已成為提升社會福利服務品質的重要關鍵。此次與屏東科技大學合作,將有助於發展更符合實務需求的培訓內容,強化社工在社會安全網建構、脆弱家庭支持及跨機關合作等領域的專業量能。...

Buy Gmail Accounts◈{{⭐️⭐️}}◈➤ Telegram: @progmbofficial◈{{⭐️⭐️}}◈➤ WhatsApp: +1 (984) 291-3274◈{{⭐️⭐️}}◈➤ Telegram: @progmbofficial◈{{⭐️⭐️}}◈➤ progmb.contact@gmail.com◈{{⭐️⭐️}}◈➤ Visit Our Website:https://www.progmb.com/product/buy-gmail-accounts-2/ Buy Gmail Accounts. In today’s digital age, knowing how to buy Gmail account is not only useful—it’s essential. Whether...